Note: I’m jotting this down quickly while I remember – I may expand it with example code in future.
It’s always frustrated me that to redirect one domain to another domain can be tricky and costly.
Yes, some domain/DNS providers let you do this, but not all.
And yes, you might be able to add the source domain to the hosting for the target domain.
But if, for some reason, you can’t do either of those things. You kinda have to pay for a small hosting account just to do the redirects.
However, today I went looking into whether you can do this for free with GitHub Pages or Netlify or something, and Netlify has come up trumps!
It turns out you can add a _redirects file to your Netlify site. This file lets you do reasonably sophisticated redirecting with wildcards and placeholders and status code control. Neat! Map your domain, and you get HTTPS for free too.
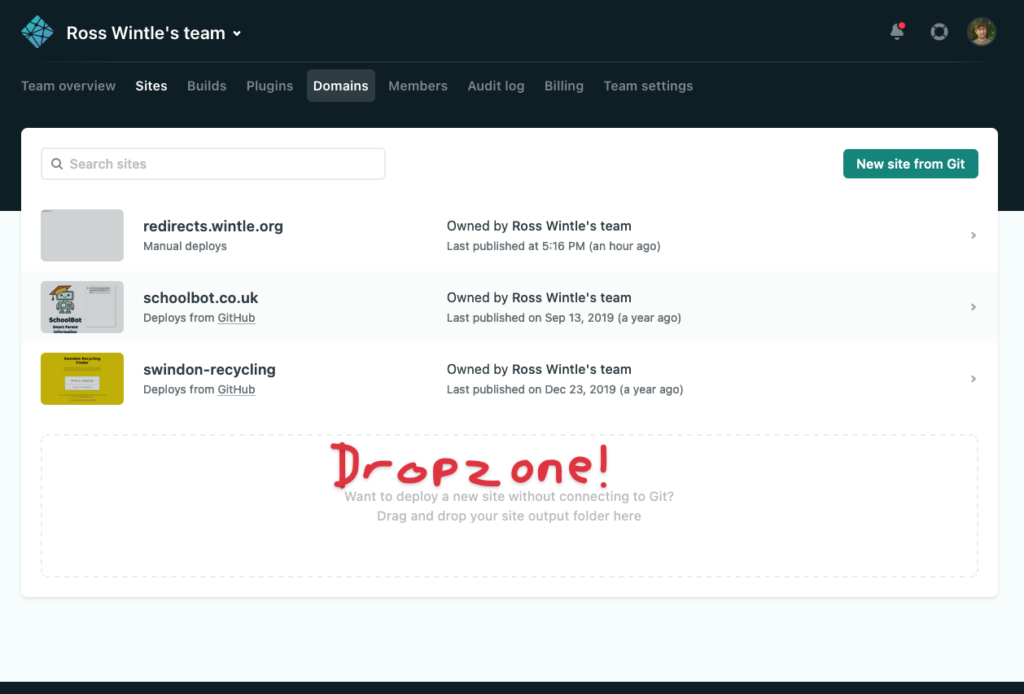
You can add a site to Netlify by dragging and dropping files into the “Dropzone” or, if you’re happy using Git, you can deploy from a Git repository.
Documentation
Netlify’s documentation explains the details of how this works and the redirects file format.
The one gotcha I found is that you do actually have to deploy a file other than _redirects into your Netlify site. Otherwise the deployment gets stuck. But don’t create an index.html as this will be served as a default for the domain breaking any fallback redirect. So I suggest creating a 404.html or something.
Process
- Create a folder on your computer with a
404.html(this can contain whatever you need) and a_redirectsfile. - Edit the redirects file to add the rules you need
- Log in to Netlify – create an account if you don’t have one
- Click “Sites” in the Netlify menu and scroll down (if you need to) to the Dropzone (as seen in the image above)
- Drag and drop the folder from your cpmputer into the drop zone to create the site (you can drag and drop the folder to update the site’s files too)
- In the Netlify site settings, map your domain (for the source URLs) and then go to your DNS provider and update your DNS according to the instructions provided by Netlify.
- LetsEncrypt HTTPS certificates will be provided automatically by Netlify when DNS has propagated.
Using Git
You can deploy from a Git repository too. If you’re happy with doing this then I’m doing to assume you’re tech-savvy enough to figure this out for yourself. Sorry if that’s an incorrect assumption.
Other uses…?
Now I’m even thinking this could be a very simple way to run a free custom URL shortener. Hmm…