I’m currently developing a paid-for browser extension that will run on both Firefox and Chrome/Chromium browsers. I’ll write more about this (very-involved!) process soon.
But in the last couple of days, I just made the decision to self-host updates for the Firefox version rather than host it on addons.mozilla.org. This post details the steps to do that.
Why?
So, I have had a version of Turbo Admin approved for addons.mozilla.org (AMO for short), but they only give two options there:
- Listed – AMO host the extension and all updates. It’s publicly listed. Anyone can find and install it from AMO.
- Invisible – AMO verify and sign the extension, but it’s not publicly listed, and you self-host the extension and all updates to it.
I really want a third option:
- Unlisted – AMO host the extension and all updates but it’s NOT publicly listed, people have to have the link to install it.
This is an option that the Chrome Web Store gives you.
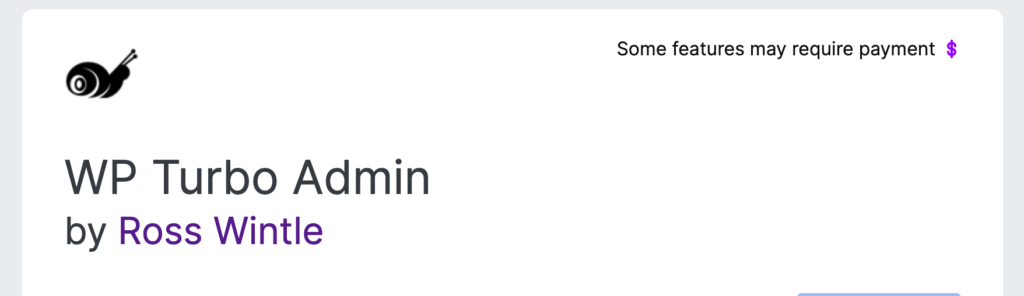
I guess there are some advantages to being on AMO. It could be a marketing and discovery channel. But I feel like finding my extension and immediately seeing that you have to pay for it could be frustrating for users. The AMO listing can show that “Some features may require payment” but I’d just rather people took a different journey to purchase.
Documentation
I’ve completely skipped the whole process of making and bundling the extension. Maybe I’ll write about that another time. So let’s get straight to self-hosting.
The official docs for self-hosting are actually pretty good. Main links are:
Follow those and you should be OK. Other than deciding WHERE to host the extension packages and updates.json it’s not too hard, but there are a few steps, which I’ll outline.
Self-hosting steps
The main steps (and my tips along the way) are:
- Bump the version number in
manifest.json,package.jsonand anywhere else that you need to. - Sign the addon and create the xpi. I use the
web-extcommand-line tool to do this, but you can upload a zip file to Mozilla too. And I have some excluded files that I put in aweb-ext-config.jsfile.
web-ext sign --api-key="user:XXXXXXXX" --api-secret="<api_key">
- With the CLI tool, this will create the signed xpi file in
/web-ext-artifacts(or wherever you specify) - Create the SHA256 hash of this using (on MacOS):
shasum -a 256 web-ext-artifacts/<plugin-name>-<version>-an+fx.xpi
- Add the new version and hash to your
updates.json. You’ll need to host this somewhere too. It’s a good idea to validate the JSON formatting before uploading. - Upload the
.xpiandupdates.jsonto wherever you are hosting them. - Test an update (you might want to go to about:config and set
extensions.update.intervalto120for a two-minute check. Note that you can see console messages about update checks in Firefox, Tools -> Browser Tools -> Browser Console)
Automation
A lot of this process is ripe for automation. I’m add this later. Might be a good opportunity to try out GitHub Actions in more depth!
Let me know if you know of any existing automations for this stuff. I’ve not even searched yet!