I have just moved out of my old “proper office” and into a new garden studio. Here’s why and how!
For a few years… wait, what’s that you say… ten?! TEN years? No way! Wow. I’d never have thought it was that long.
For TEN whole years, I’ve been sharing an office with another guy who’s a lot like me. It’s a really good value office, especially when you’re only paying for half of it.
But the other guy got into a good routine of working from home over the pandemic lockdowns and has hardly been in for the last couple of years. For him it’s mostly been an expensive store room!
Our lease was up in June and so we had to decide… should we take on another two years? And the answer was “no”.
And so I found myself needing to move out at relatively short notice.
Get a room!
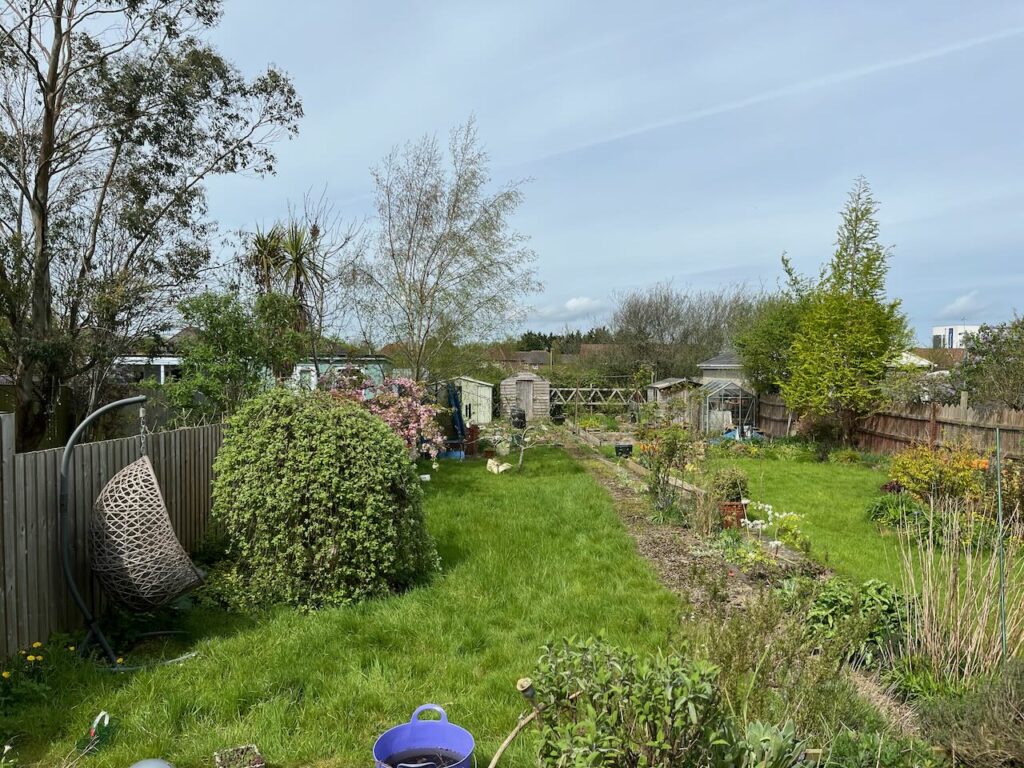
Garden rooms are all the rage – if you’re fortunate enough to have a big enough garden. We do, and few years back several of our neighbours all had timber garden rooms installed.We thought about it at the time, but the Actual Office space worked better.
Then two years ago, my dad had a garden office installed as well.
And so this was our post-Actual-Office plan: get a garden room to work from!
Choosing a room
My dad was really happy with his garden office. He got it from a company called Booths Garden Studios and they have this system which I’ve not seen anywhere else.
They build from pre-fabricated panels. Which means they can assemble most studios in a day and they can build them right up to a fence or wall (they claim to within 2 inches!!). They are also “portable”, which means you can take them with you to a new home.
The studios sit on legs which don’t need full concrete foundations, and which can be extended in case you are on sloped or uneven ground.
Their studios, while timber-framed, are steel-clad, which means you don’t need to do maintenance/timber treatment to keep them in good condition, and they have a 25 year guarantee.
And they are short enough that you don’t normally need planning permission as it falls within “permitted development” in most cases. Hooray!
We liked all of this, and they’re pretty good value too (in fact it was hard to find something that came in cheaper). So we decided to follow in my father’s footsteps and order from Booths.
Booths were just brilliant with their service. Because the studios are so flecible, they don’t need to do a site visit. But I emailed their sales team a LOT and requested multiple design tweaks and lots of information from them. They were always so happy to help and quick to respond. They even “down-sold” me, suggesting I remove options that I probably didn’t need. They really want the right thing for their customers.
Clearing space
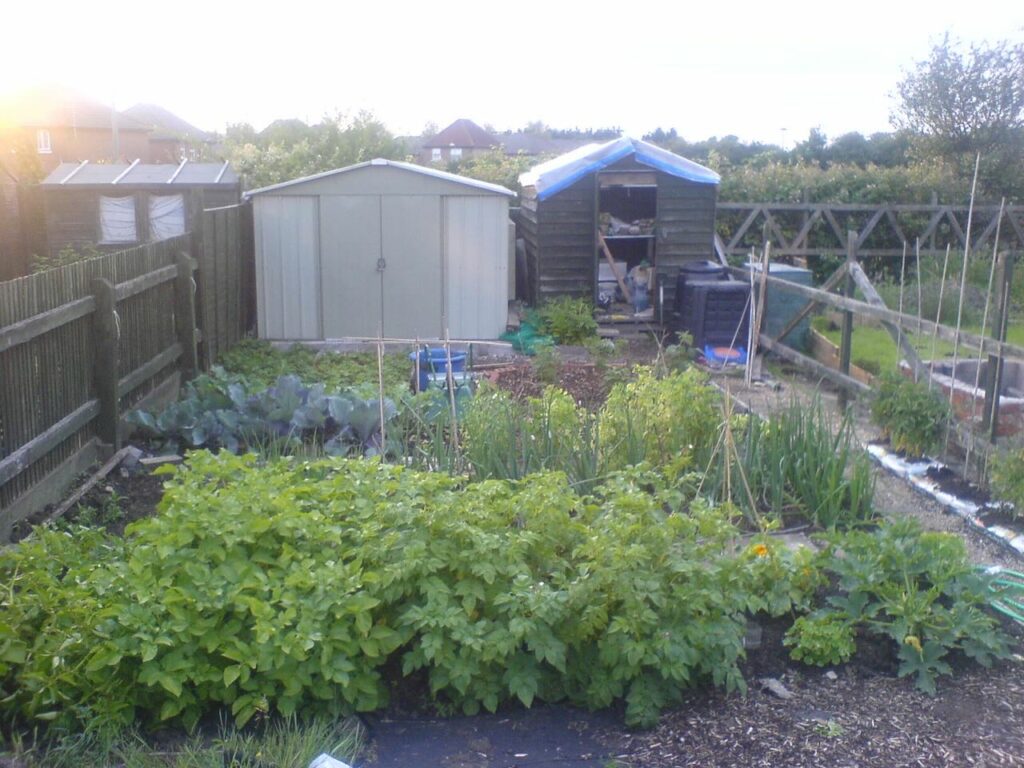
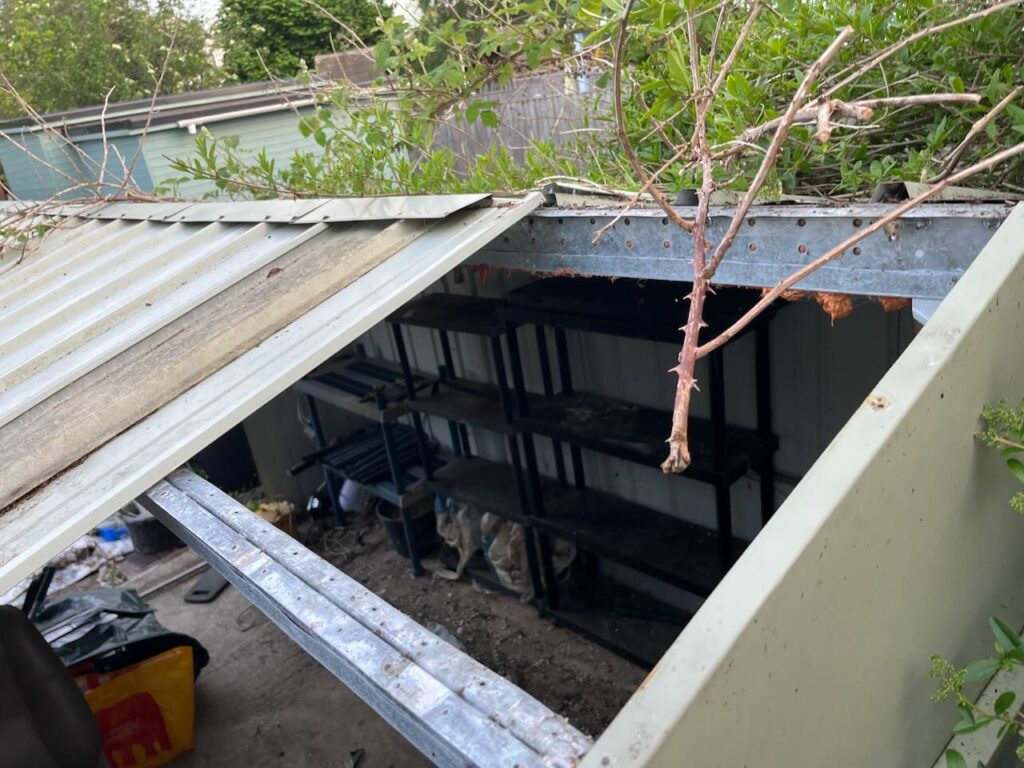
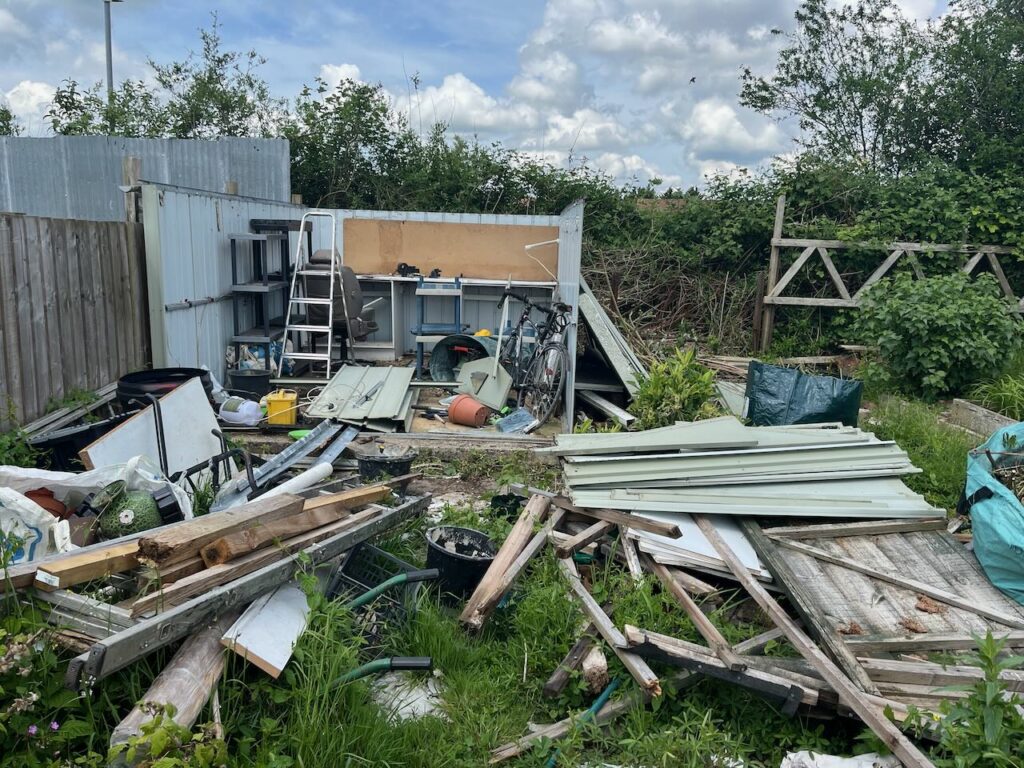
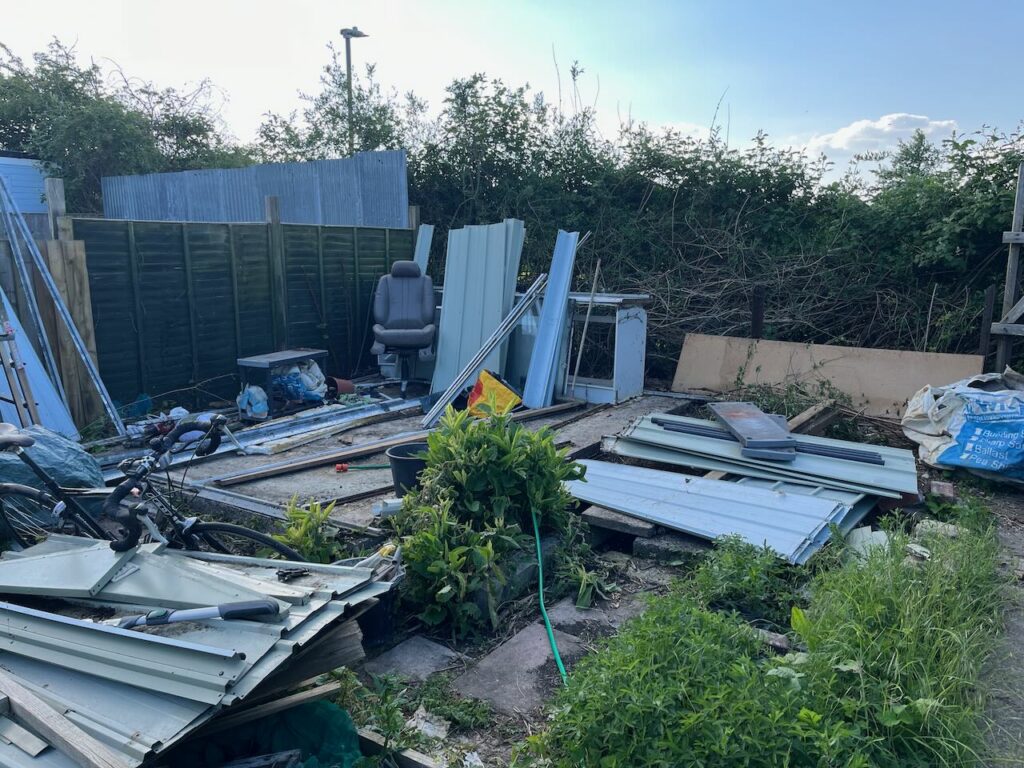
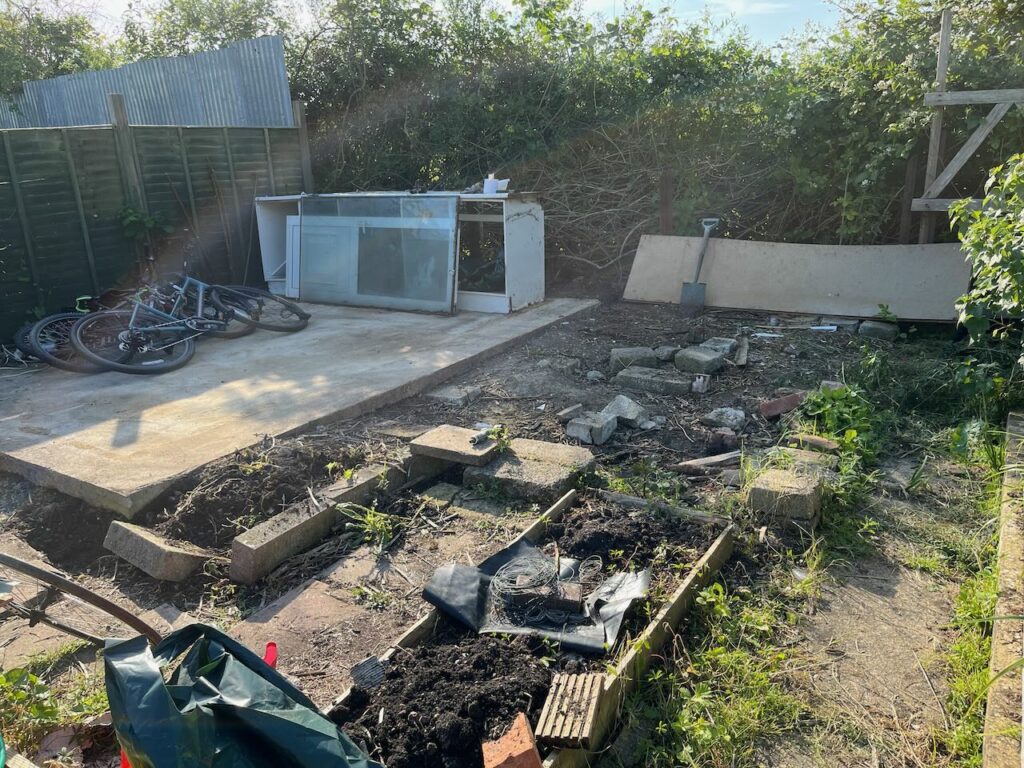
You can see in the photo above our existing two sheds. One is steel, and happens to be on a concrete base (albeit not a very flat one!). The other is wood.
It’s worth saying that the people that owned our house before we did it did substantial renovations, and it turns out a lot of it was done in the cheapest possible way.
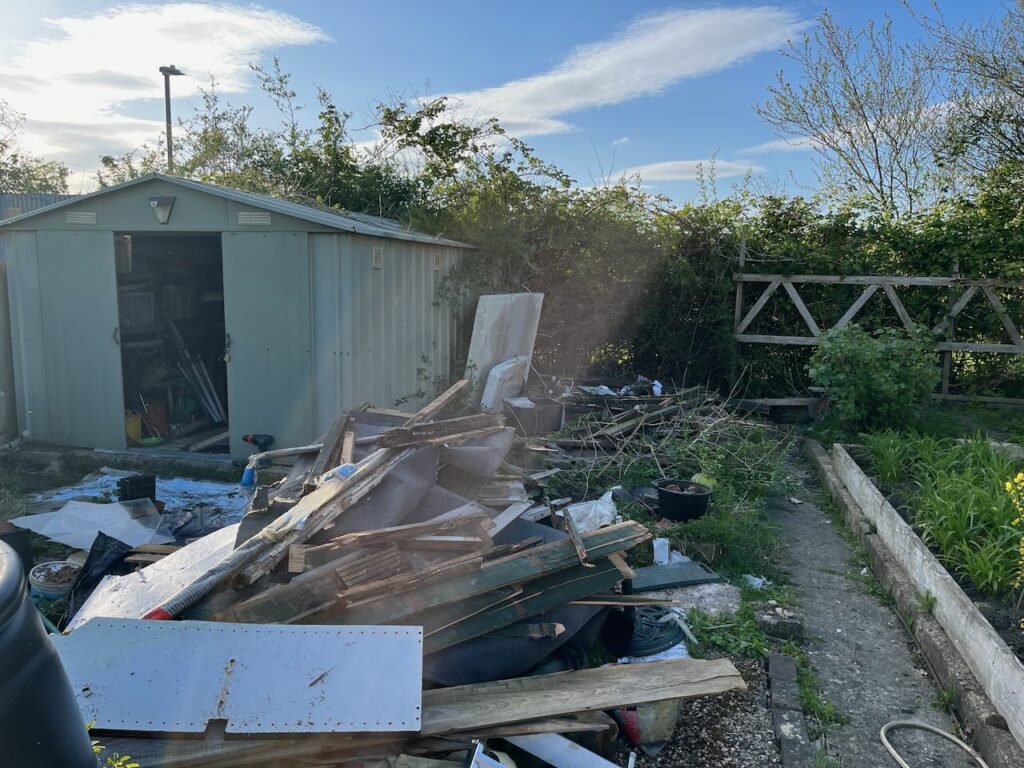
That wooden shed though… flippin’ solid that is! Took me ages to take it apart! And there was a LOT of wood in various conditions to get rid of.
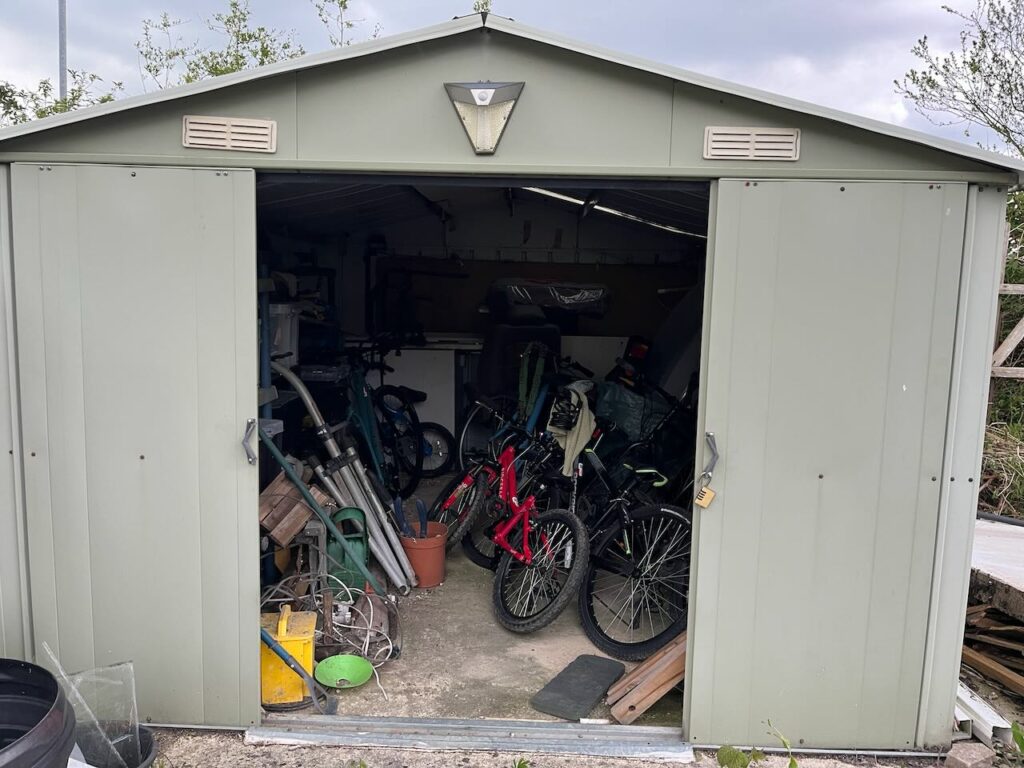
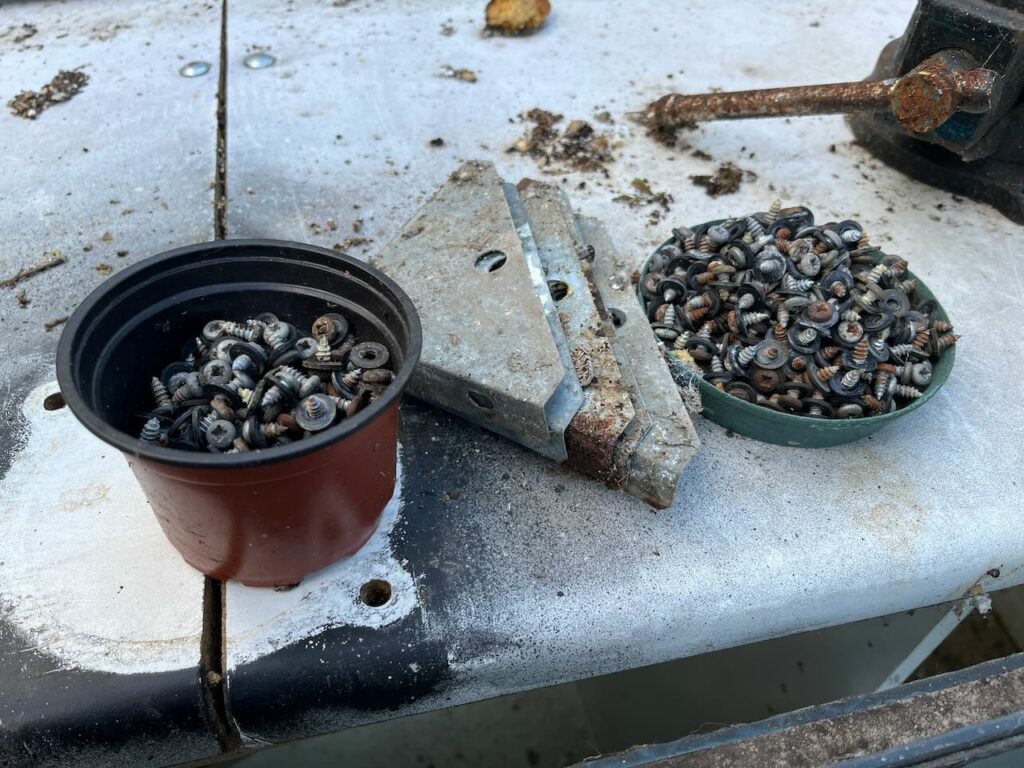
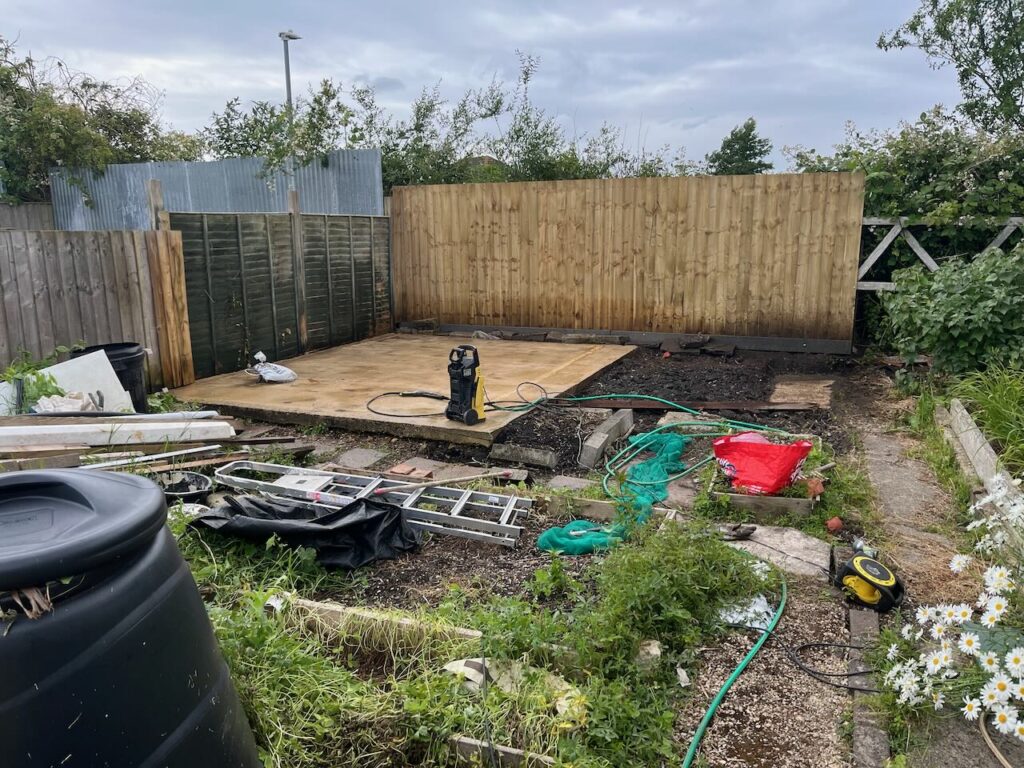
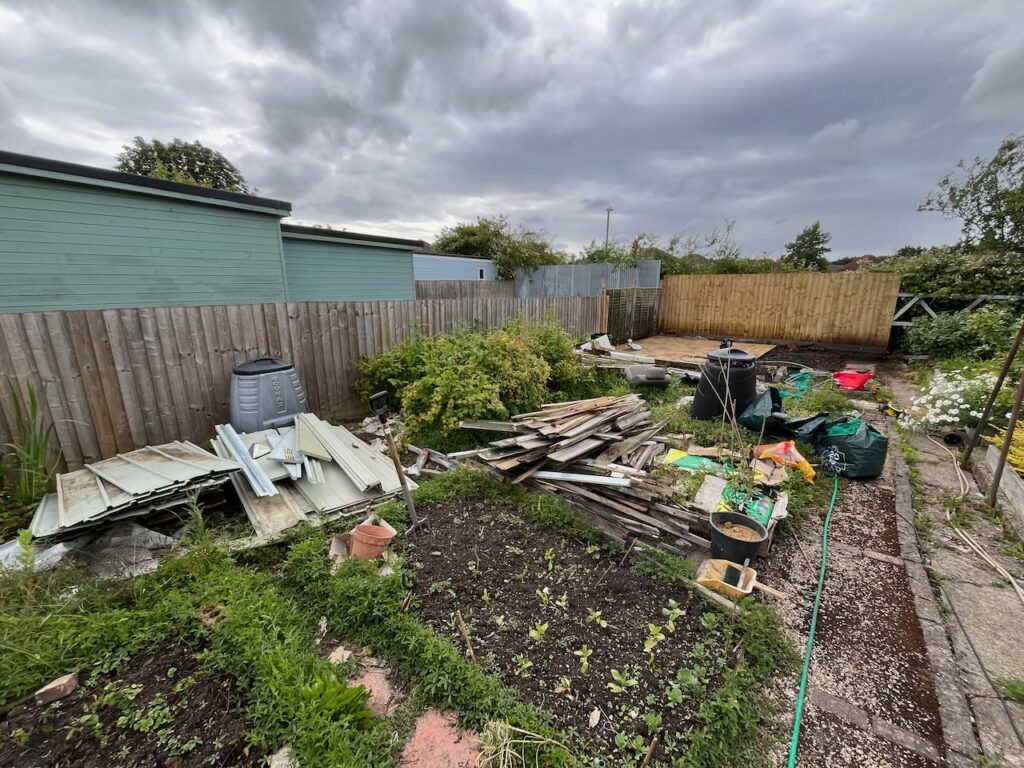
And so it was that I spent many weekends disassembling and dismantling the two sheds and getting rid of a lot of their contents. There was a LOT of moving stuff around, and we chose to just do multiple trips to the tip (waste and recycling centre) rather than hire a skip.
It literally took weeks! And we’re still not quite finished with getting rid of stuff.
We’ve got the power!
You know I said the people that renovated our house didn’t do such a great job, except for that shed?
Well it turns out there was one other thing they did really well: They installed electrical and networking cable to the metal shed!
This was never connected up, so it would seem. And it wasn’t properly shielded cable it was – as my sparky called it – “just some cable in a pipe!”. But the electrician tested it and it worked and would be fine to wire up.
This was great as it would save us nearly £1000 getting cable down the garden in a trench.
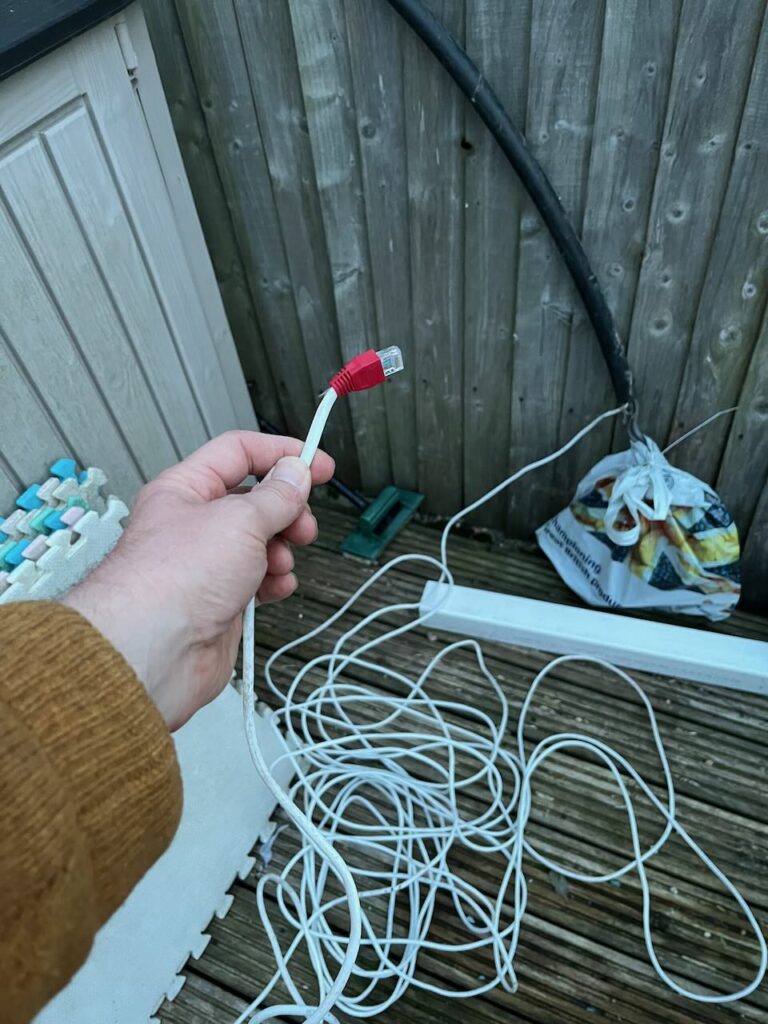
I got my crimping tool and RJ45 tester out and put some plugs on the network cable to test that too, and guess what?
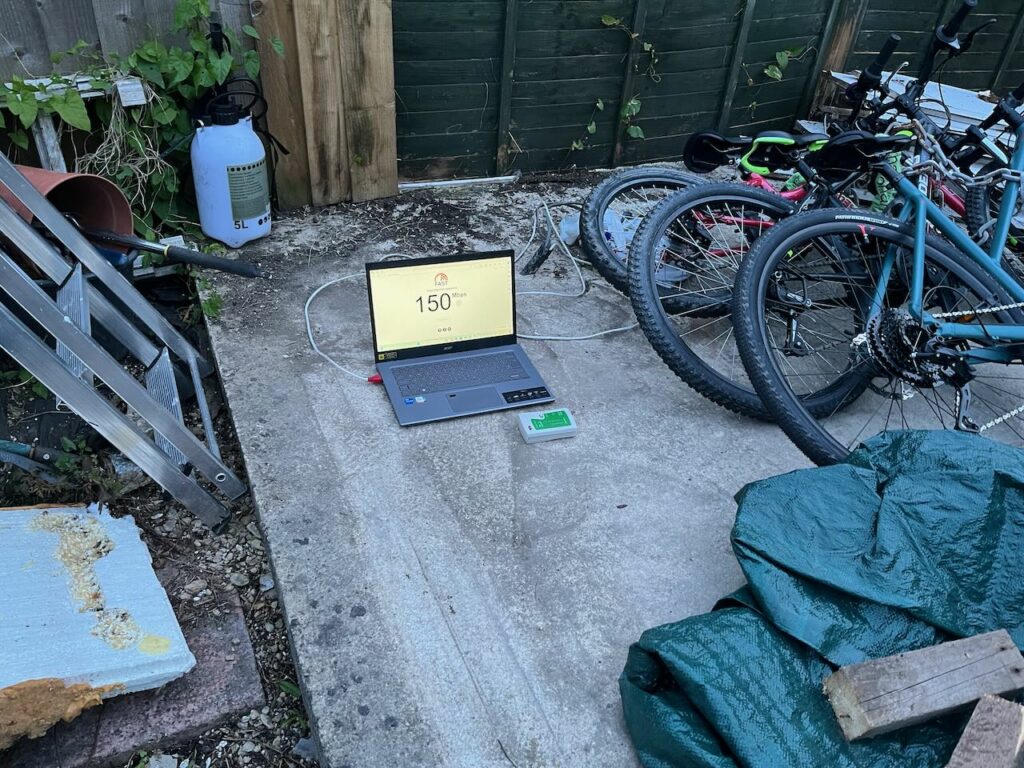
Yup – that’s a 150 Mbps ethernet connection 30 m from my house! Awesome!!
So, thanks previous house owners, for saving us a ton of cash and hassle!
Install day
The installation day went without a hitch (well, there was one tiny hitch, but it was handled brilliantly by the install team).
The two-man installation team turned up at 7:30, and the studio arrived in a lorry a short while later. A forklift unloaded all the palettes full of stuff and put them outside our house. We don’t have a drive or a front-garden, so we just had to occupy some space on the road for a bit.
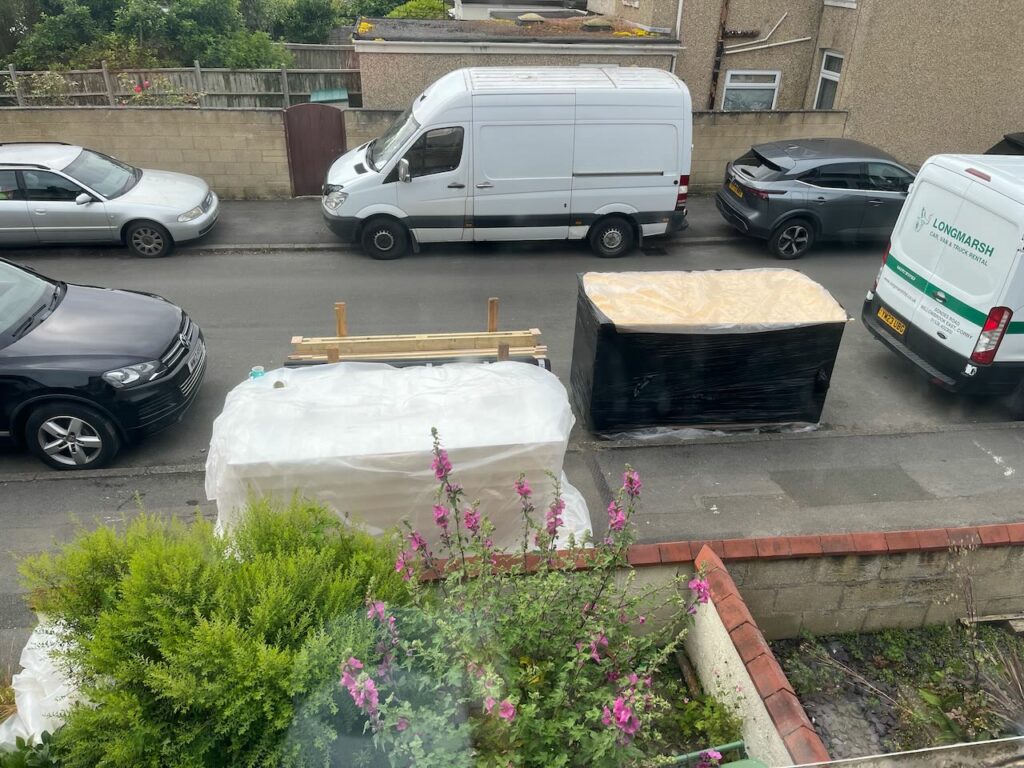
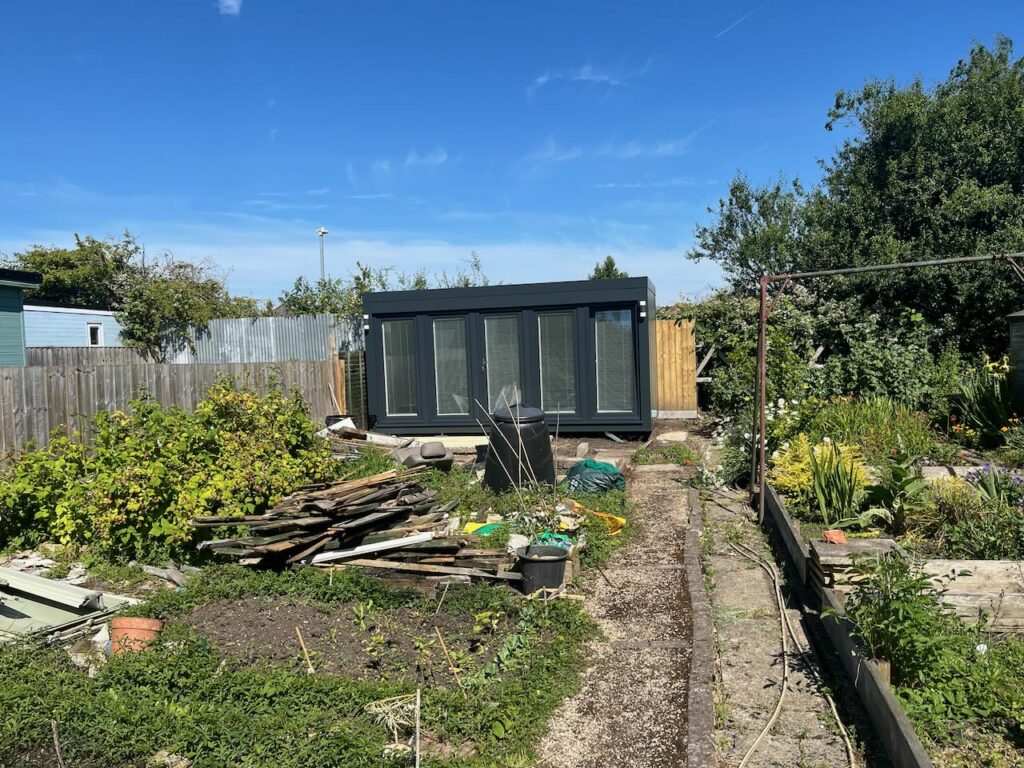
By mid-afternoon, we had a garden room. And I was really happy with it.
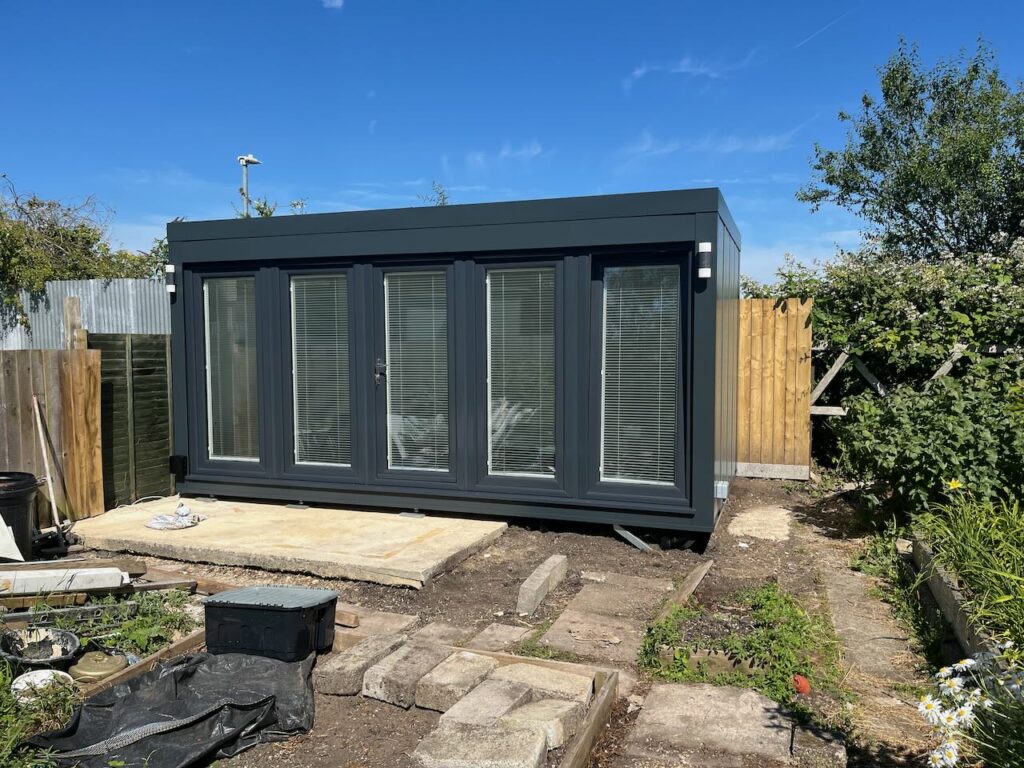
I was concerned that it would look really imposing, and possibly “shipping containery”. But it really doesn’t. Yes, it looks modern and somewhat brutalistic. But it also looks really smart.
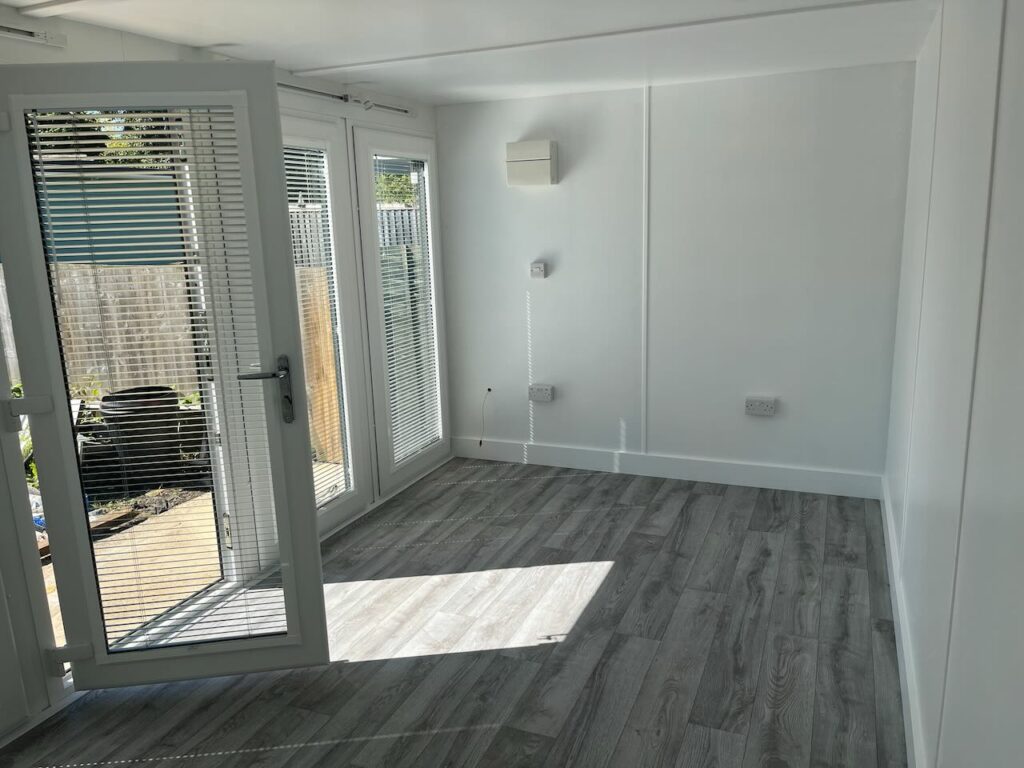
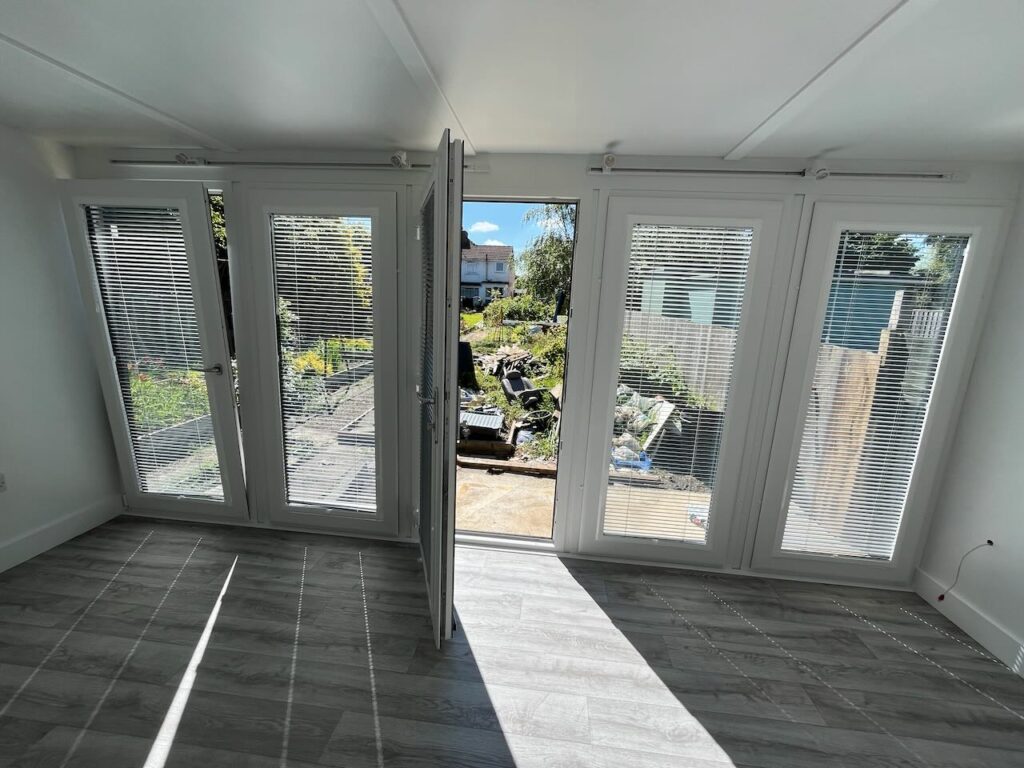
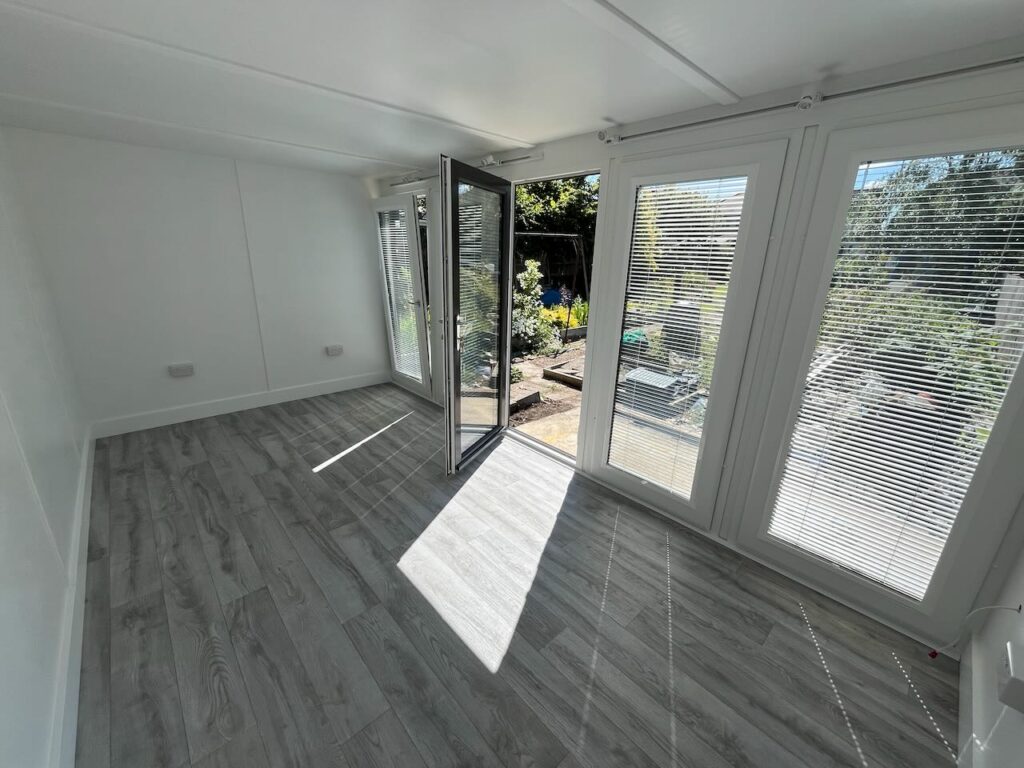
The interior is bright and airy. And the windows let lots of light in.
Ours faces south-east-ish. So it will get a lot of light through those windows and we were concerned about how hot it would get. But the provided blinds are reflective and actually work well to keep heat out. As for “Is it cold in winter?”, well, I guess we’ll have to let you know. Unlike a room in a house it is exposed on all sides. So it may be a bit chilly. But we can live with that.
Moving in – and out!
The was then just the matter of the old office.
Turns out you accumulate a lot of stuff in ten years. I was amazed at what I brought home.
We hired a van to move some of the bigger furniture, and we’re still getting organised inside. But I have officially moved in.
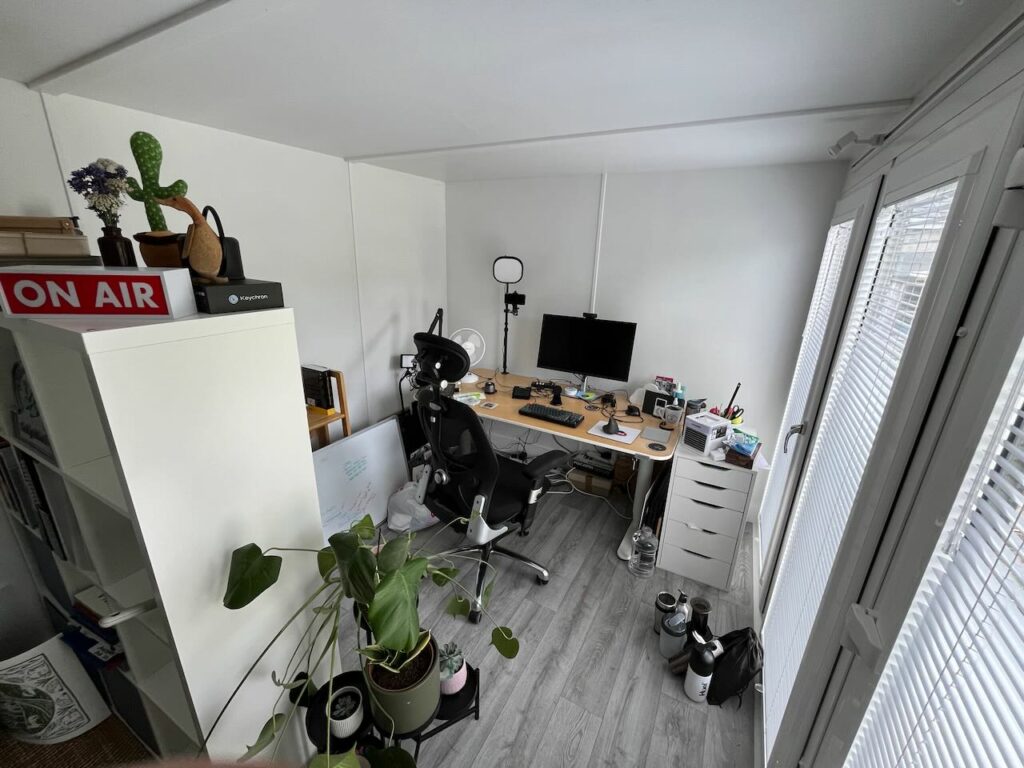
My wife has claimed the other half for the days that she works from home and for her crafting. Yes, we have the essential Ikea Kallax unit straight down the middle!
And so there we are.
Today I finished the process of leaving the old office as I found it and I shall return the keys tomorrow!
The end of an era and the start of a new one!