There’s a ton of information on the internet about baking sourdough. Some present the process as simple, when it’s not. Others make it intensely complicated and nerdy.
Some will say that making a nice loaf requires great precision in timing and ingredients. But my process seems pretty robust to my frequent neglect and tolerant of tweaks to the recipe.
So this is my contribution – my real-life process for making sourdough bread, avoiding jargon and fancy equipment, and showing you in pictures how I do it.
Background/context
I’ve been making sourdough since May 2018 – before the COVID boom in at-home baking – when a friend of mine passed me some starter and a single-page of A4 instructions.
I work remotely from home , but you can run this process if you have a job where you are out during the day.
It’s really important to say that I think everyone’s process is different. I understand my starter, my kitchen and equipment, and so on. I’ve been doing this for 8 years. The process has evolved a bit, but mostly I have got used to how long things take and what makes a good loaf, and it may take time for you to do the same.
So this is “A” process, not “THE” process. It may not work for you, but it may guide your own baking.
Terminology
There is lots of terminology in baking and especially with bread baking. You don’t need to know too much. Here’s the terms I’ll use here:
- Starter: This is a small amount of “goop” that you store in your fridge on an ongoing basis and use as an ingredient in your dough. It’s the base in which naturally-occurring yeast grows and is made from just water and flour.
- Feeding: The starter needs topping up from time to time as the yeast multiplies and consumes the starch in the flour. You just add some more water and flour, mix it together, and leave it out of the fridge for a while.
- Sponge: This is the start of a batch of dough. You make this from starter, flour and water, and leave it for a while. Then you use it to make the dough later.
- Dough: This is the stuff your bread is actually made of. This is what you shape and bake.
- Prove: This is where you leave dough to rise.
Equipment
You don’t need much equipment. You probably already have most things in your kitchen. But there are a couple of specialist things that are very helpful and inexpensive.
Things you probably have:
- Plastic container for starter
- Small mixing bowl and large bowl
- Plastic bags or cling film (or silicon bowl covers)
- A wooden spoon
- A metal spoon
- Scales
- A baking sheet
- A fridge and an oven
Things you may not have:
- A small silicon spatula (these are super useful in the kitchen – we buy the kid’s baking kits that are in Aldi occasionally)
- A “banneton” or “proving basket”- this is a basket you put your dough in to shape and rise. Usually made of rattan or cane and comes with a fabric liner (I don’t use the liner)
- A dough scraper – a small plastic tool that helps move dough around
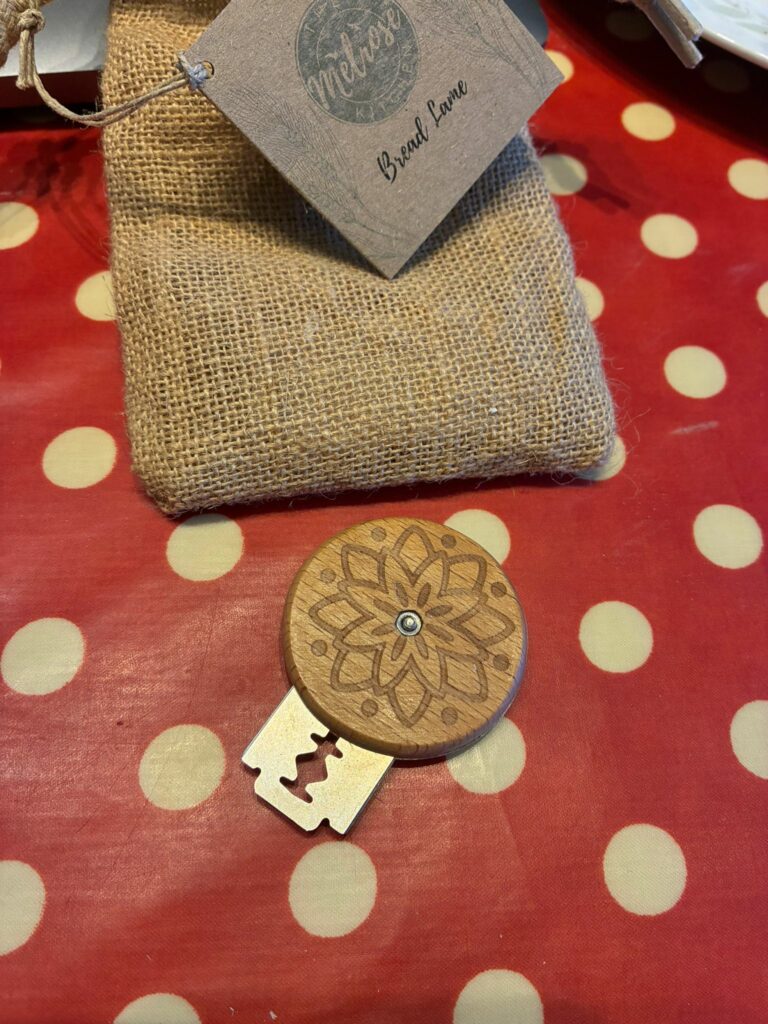
- A bread “lame” – this is a small device that holds a razor blade that you can use for cutting into the dough before baking.
Ingredients
Essentially all you need is
- Starter (your yeast supply)
- Strong White Bread Flour
- Plain Flour
- Water
- Salt
- (optional) A little gluten-free flour is helpful – I’ve used rice or teff flour.
HOWEVER!!! Your starter and process may need other things.
I have a rye-based starter. I use light rye flour when feeding, and making the sponge.
I occasionally feed with dark rye flour as it’s a bit more “potent”.
And I bake with a mix of regular wheat-based bread flour, rye and spelt flours.
Summary of the process
The main steps of the process – with timings – are:
- Make the sponge (5 mins) and leave it to grow (1/2 day)
- Make the dough (10 mins) and leave it to prove (1/2 day)
- Shape the dough (10 mins) and leave it to prove more (1/2 day)
- Bake (40 mins)
Yes, this process takes about 2 days! On a cold day it can take longer.
Detailed diary for a bake
Here’s what you’re really after – a detailed breakdown of a bake complete with pictures and descriptions instead of jargon and numbers.
This makes a 1kg-ish loaf, and remember it’s a rye-based starter!
Thursday PM – make the sponge
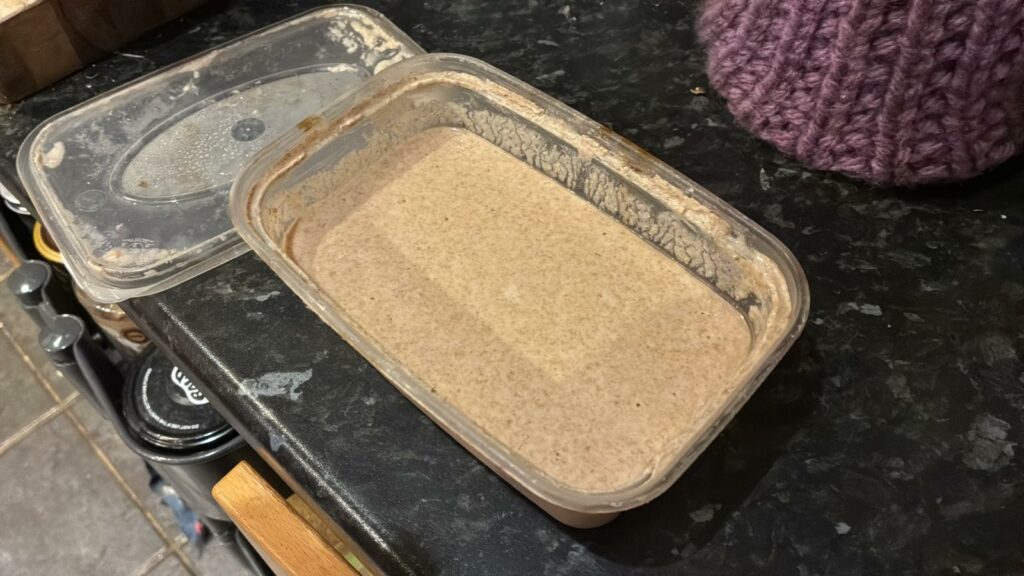
Here’s the starter. It lives in the fridge. It has a texture like custard and usually has bubbles in it (if not it needs feeding – see questions section). It sometimes has a layer of vinegary acid on top. This is fine – again, see the questions section at the end:
Here’s the texture of the starter:
In a small bowl I mix together, into a paste:
- 50g starter
- 100g light rye flour
- 100g water (this is 100ml, but it’s on the scales and 1ml of water weighs 1g – yay!)
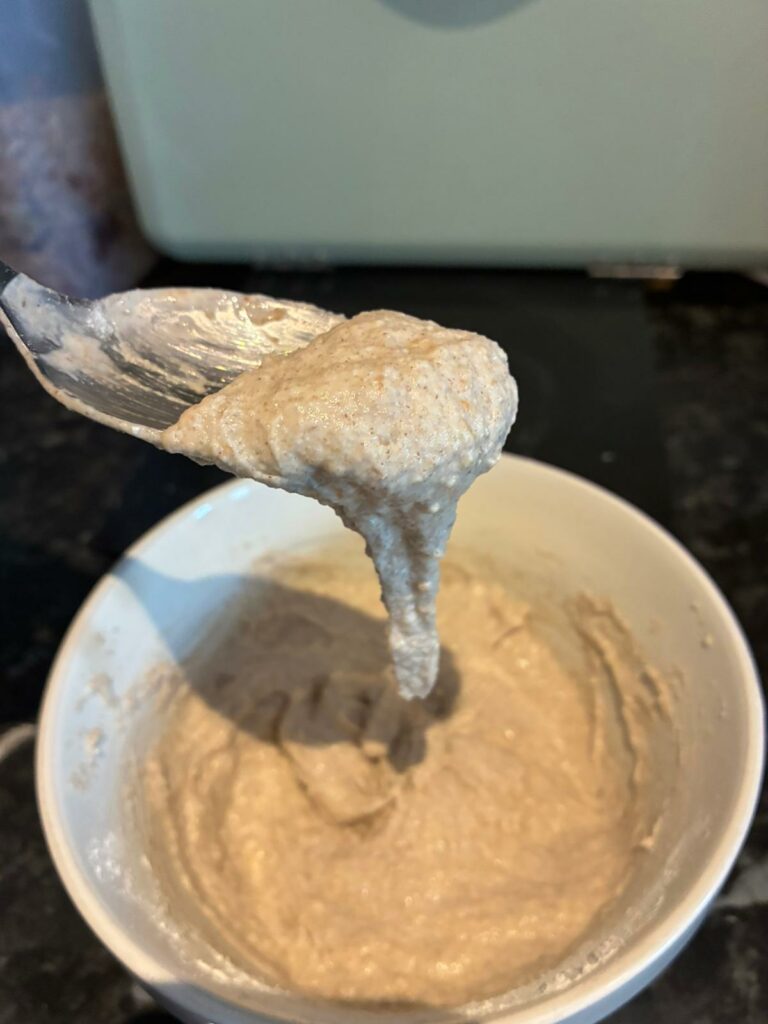
The sponge has the viscosity of supermarket humous, if that helps.
This gets covered and left out of the fridge. I use a silicon lid, but cling film or a tea towel is probably fine. You don’t want it to dry out or get contaminated.
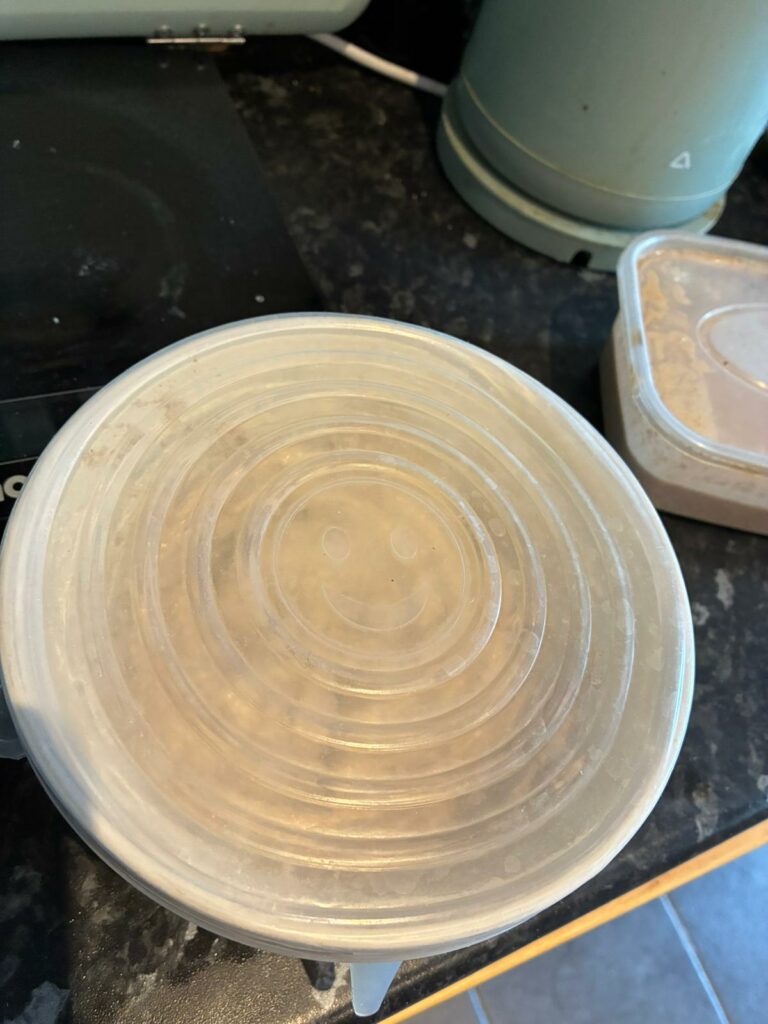
The starter goes back in the fridge.
Friday AM – Make the dough
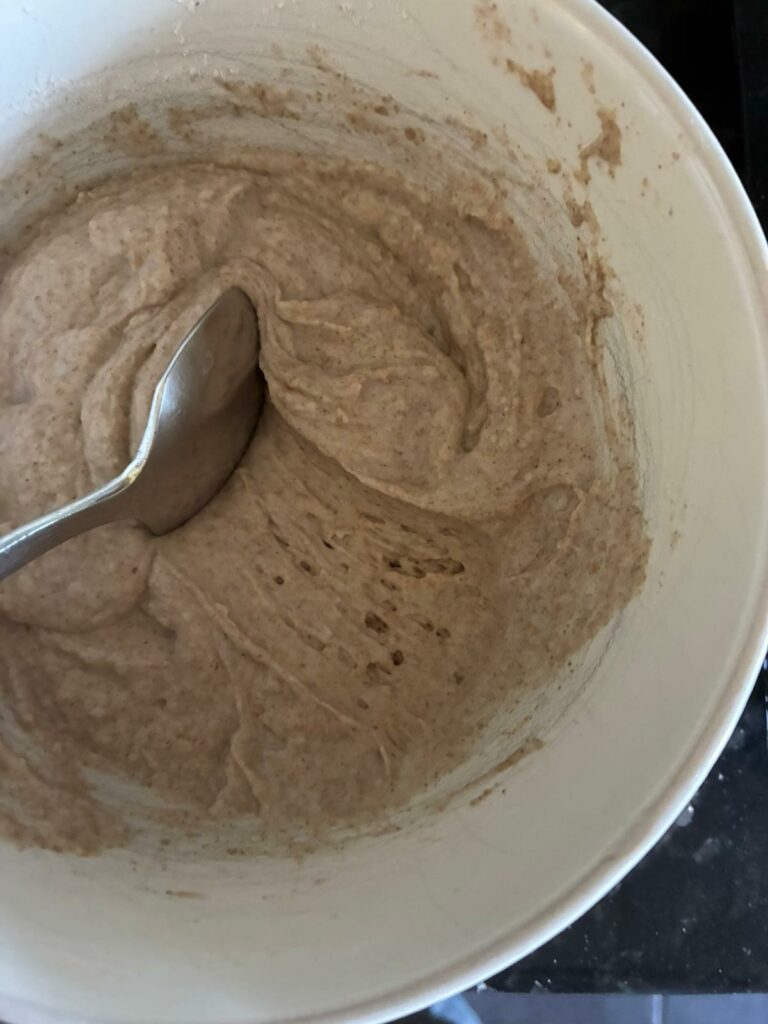
Some people’s sponges grow like crazy – doubling in size. Mine does not. I don’t know why. It never has. Perhaps it’s too thick/dense?
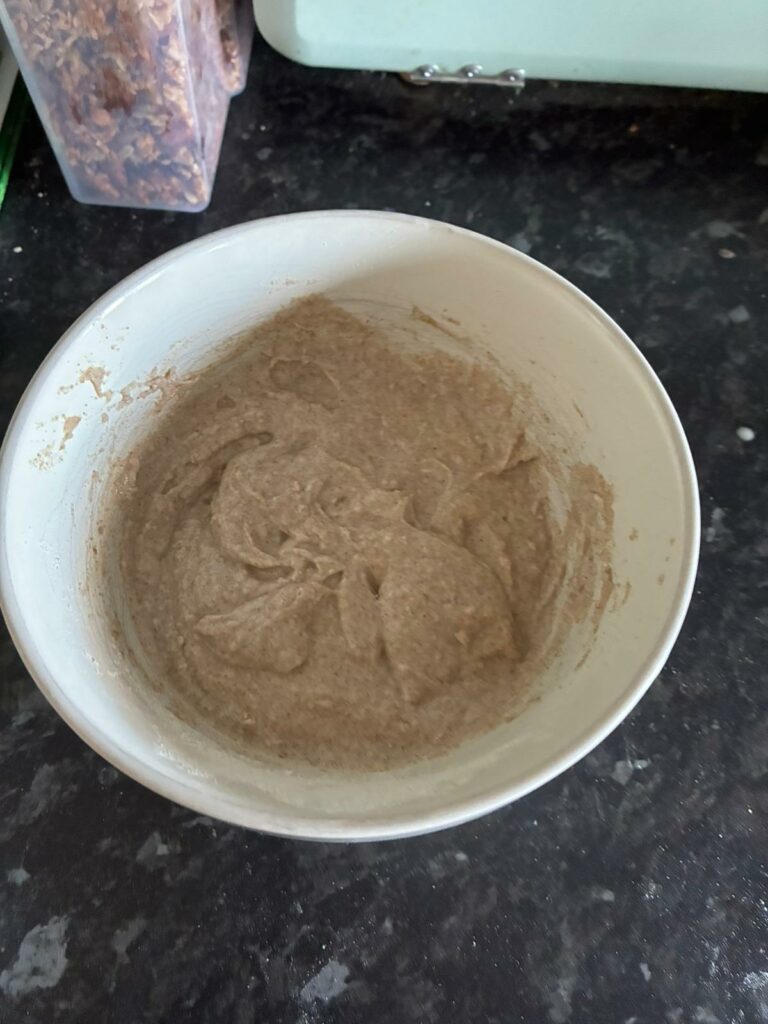
I know it’s ready when it has air bubbles. Sometimes, if it’s cold, this takes a whole day. It seems pretty tolerant of me neglecting it too. Sometimes I just forget about it.
I make the dough in a big mixing bowl. Just mix together:
- 185g sponge
- 530g flour – usually 400g strong white bread flour and 130g other flours – spelt and light rye work well, if you want to use wholemeal you will probably need more water
- 300g water
- around 10g salt
The remaining sponge should be mixed back into the starter as a way of feeding it. If you have lots of starter, throw some away before mixing the sponge in.
Try to avoid getting the white bread flour mixed in with the rye starter. Keep the starter pure rye-flour.
Leave the fed starter out of the fridge for 2 hours or so to get going before putting it back in the fridge until you need it. It seems to last 3-4 weeks without needing a top-up feed, so if you bake weekly or fortnightly it will just keep going.
I mix the dough with a wooden spoon until the ingredients are combined. At this stage it will be a bit of a rough texture, but that will change. It should hold together enough that you can lift it all with the spoon, but it will obey gravity a bit too.
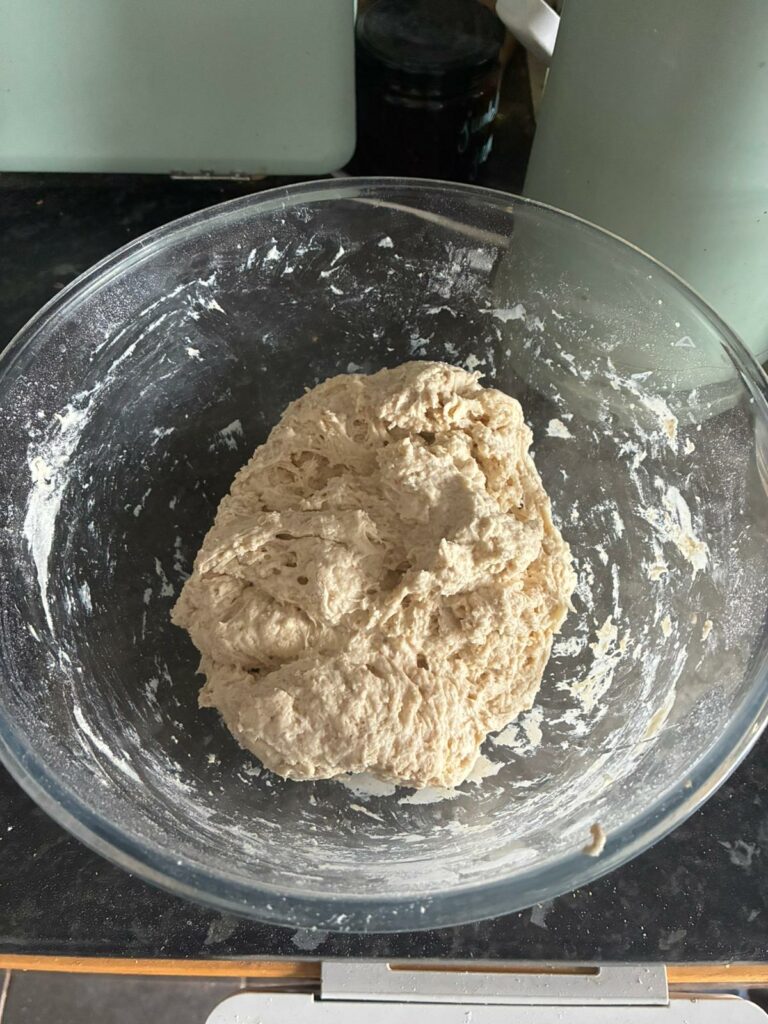
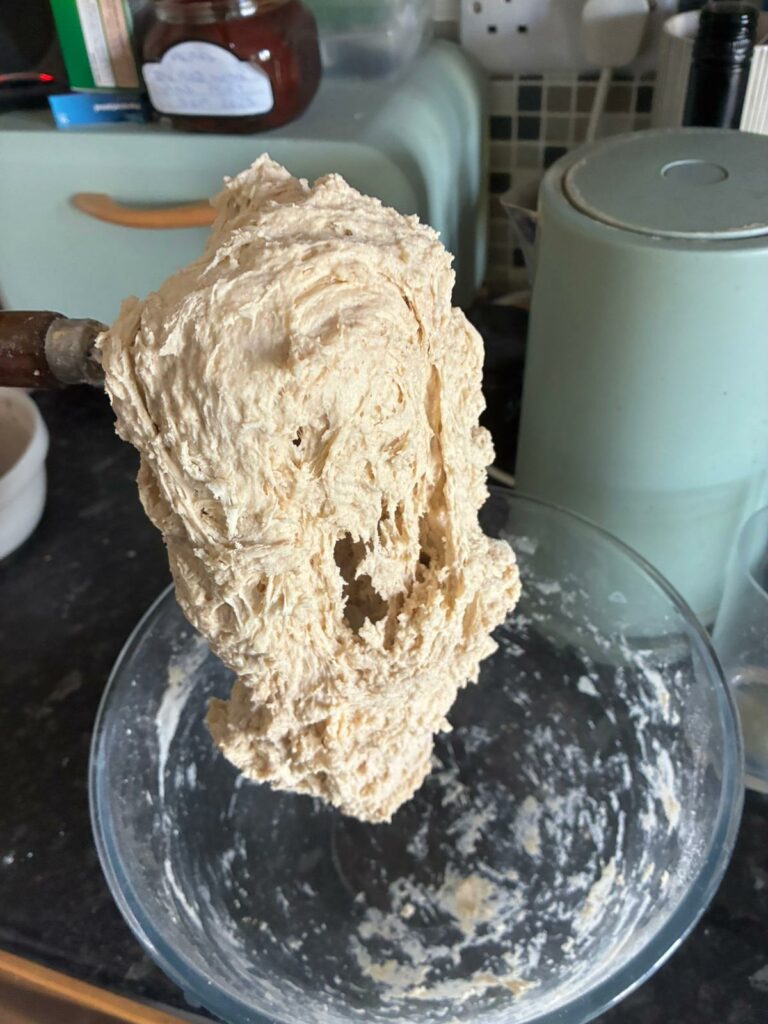
Cover this with plastic or a tea towel – again you don’t want it drying out – and leave it out to prove.
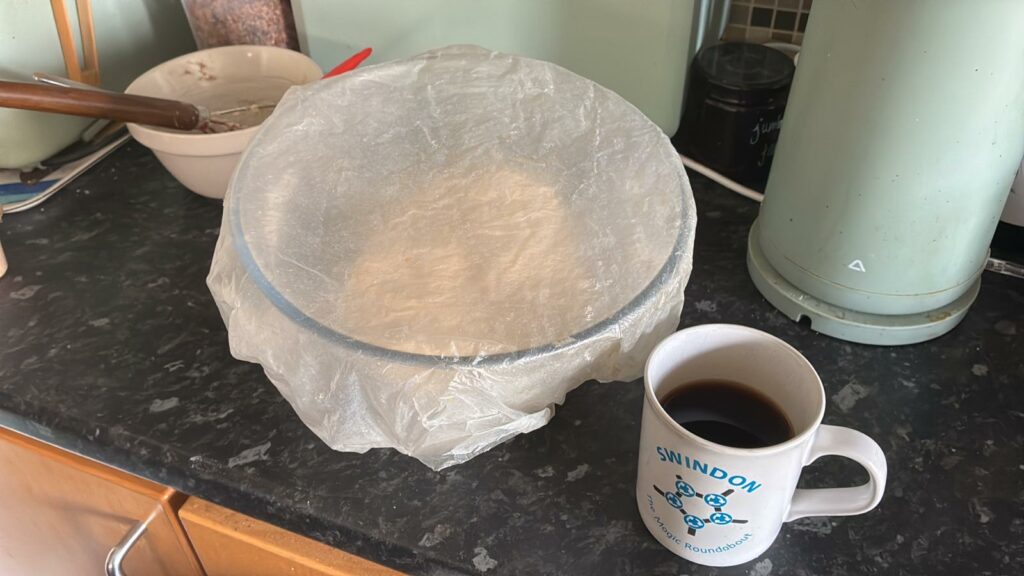
Proving and stretching
My original sheet of instructions recommend doing a “stretch and fold” on a semi-complicated schedule. Supposedly it elongates the air bubbles or something. But I’m not convinced it does anything of the sort.
But I do do something like this: wet your hands, scoop an edge of the dough from the bowl, stretch it, and fold it back onto the top of the dough.
It’s important to do this after 30-60 minutes after you make the dough as the dough has loosened a bit and it works like a bit of a knead. Probably something to do with “gluten strands developing” or something. I don’t know. But it does seem to need an extra knead at this point.
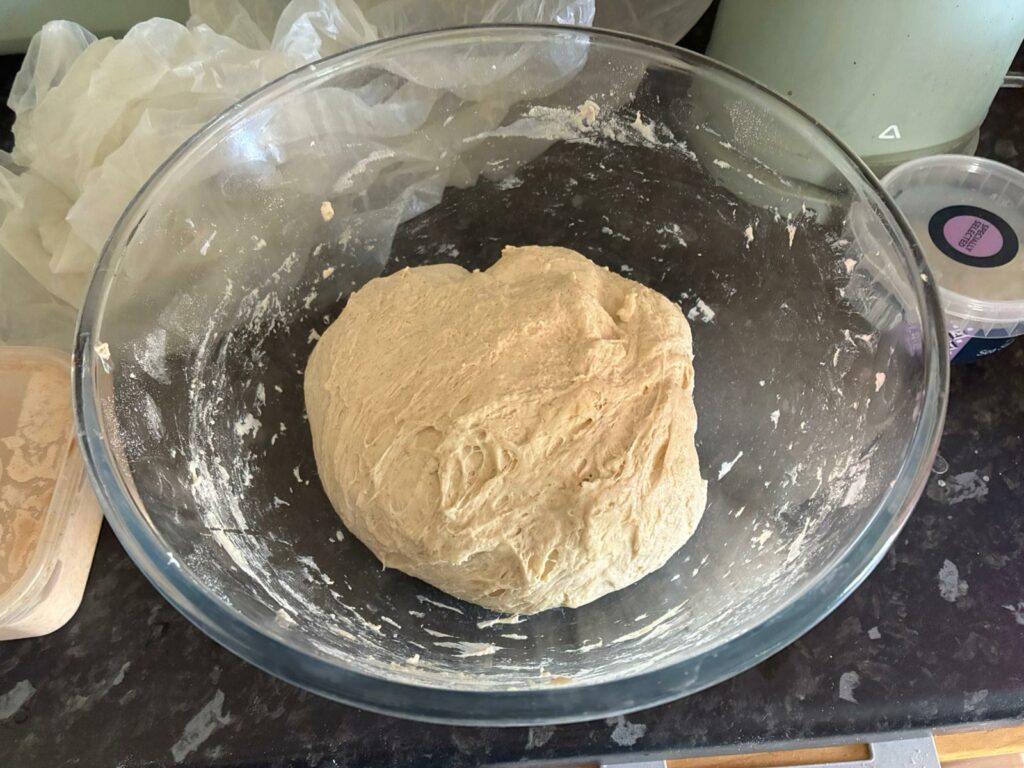
After that I do stretch-and-fold it occasionally (as described above), but not on any kind of schedule. I often leave it overnight, or for a whole working day. It will prove quicker when warm, but the whole point of sourdough is that it proves slowly and naturally.
Friday PM – Shaping!
The dough is ready to be shaped when it’s gained a little size (25% maybe?) and is a little wetter and looser, often with larger air bubbles starting to show (you can pop these with a quick, clean-finger jab!). Usually after the half-to-whole day of proving.
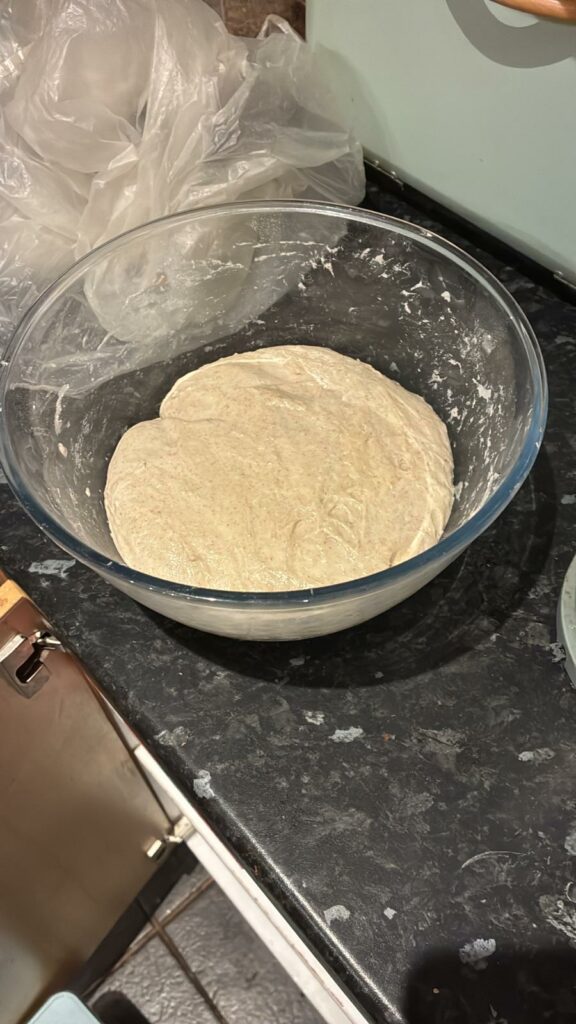
You’ll need to prepare the banneton, or a bowl lined with a tea towel. You want to avoid it sticking.
I used to use a banneton liner, but it was annoying to clean and I’ve since discovered that you don’t need one.
I do, however, dust my banneton with gluten-free (rice or teff) flour. Which… hmmm… hold on…
An aside on dusting your banneton and shaping
Interestingly, I learned to “shape” the dough when Bake With Jack on YouTube told me that dusting my banneton was a waste of good flour, and that as long as my dough had a “skin”, I shouldn’t need it.
Beware of the YouTube. There is lots of intimidating jargon!! Even in beginner recipes. But it’s worth watching the techniques a bit.
So I looked up how to make my dough have a skin. Jack himself has a video on this, and his dough looks a lot like mine. I adopted a bit of The Boy Who Bakes’s technique too, though I note that his dough is a LOT looser than mine and Jack’s, and he still dusts his banneton.
I’m with Boy Who Bakes. I like to dust my banneton – the dough comes out so much more easily when it’s time to bake!
Where were we? As yes! Shaping!
Back to shaping. With my banneton dusted, I use the dough scraper to scrape the dough out of the bowl onto a cleaned and plain-flour-dusted table. I then just do one shaping operation to put a “skin” on the dough – see the videos above and below. (Jack mentions “pre-shaping” but I just do one!)
Here’s me looking actually-not-bad at TikTok-worthy, white-man-bakes-sourdough / ASMR crossover videos:
Get that dough in the basket, cover it (my basket came with a basket-shaped plastic bag which I still use for this!), and stick it in the fridge for another 6-12 hours. And it doesn’t seem to matter all that much. Another overnighter, or working day length of time seems just fine.
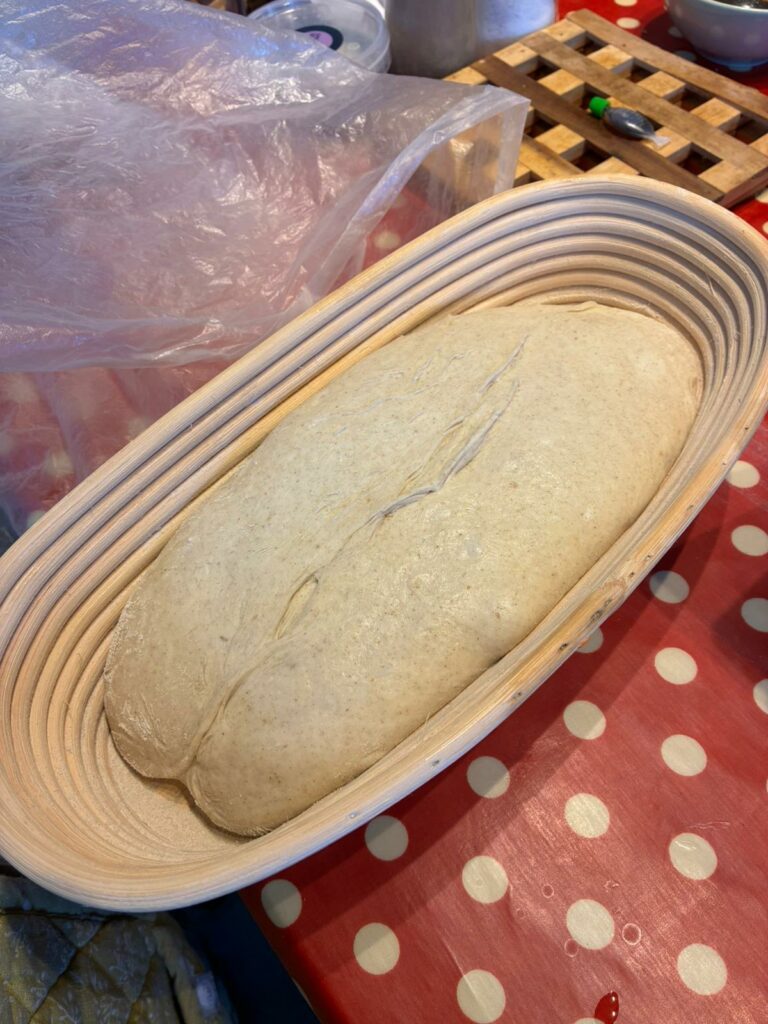
Saturday AM – BAKING DAY!!
Key fact: 220c for 35 mins. Steam-bake if you can.
Wake up (or get home from work), stick the fan oven on at 220c and use the steam-bake function if you have one.
I’ve figured out that mine takes about 8 minutes to heat up and so I set a timer.
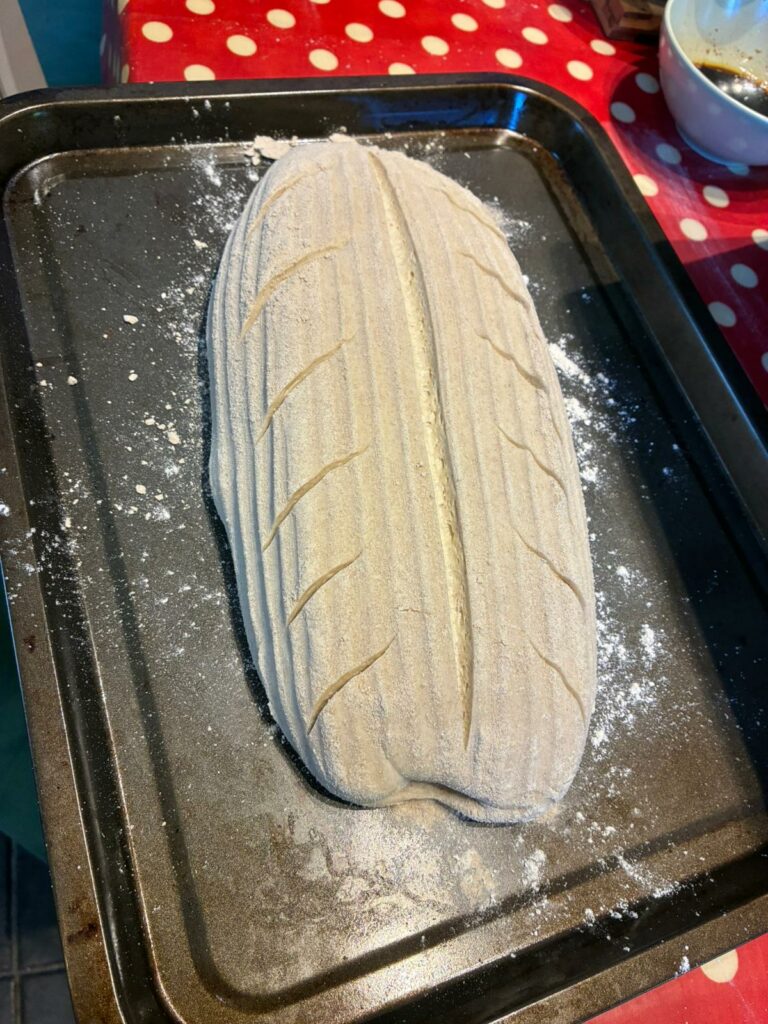
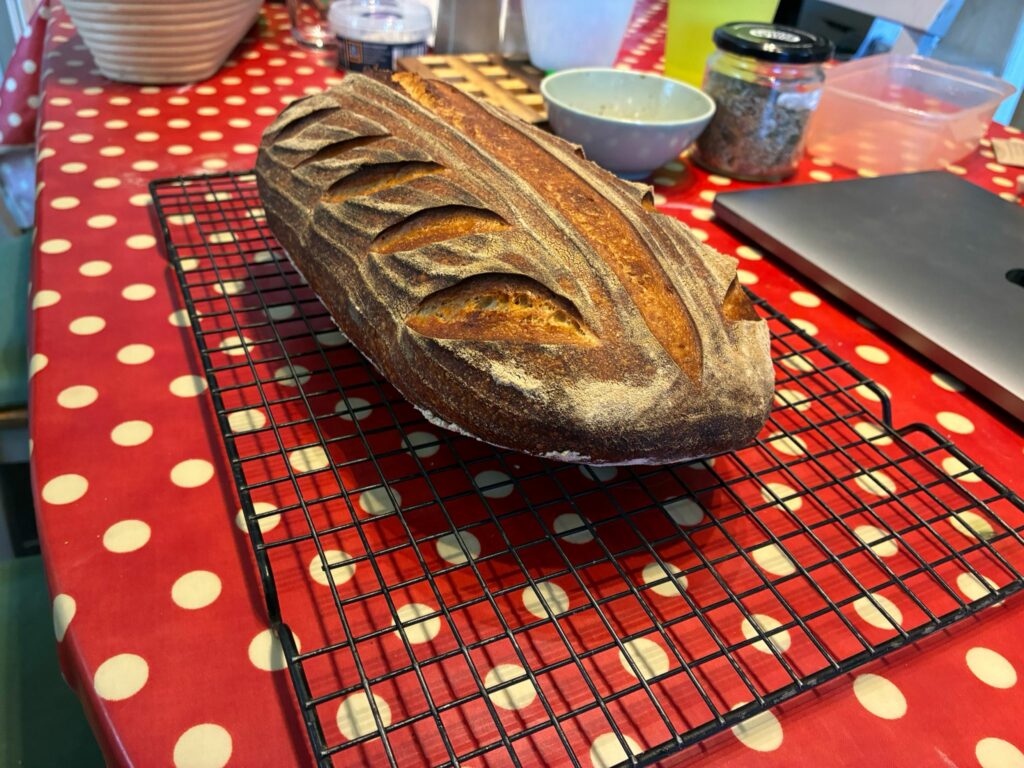
Dust a baking sheet with regular plain flour to stop the loaf sticking to that (even if it’s non-stick!), turn the bread out, score/slash it with a knife to let it expand (or make a pretty design with a bread lame if that’s your thing) and stick it in for 35 minutes.
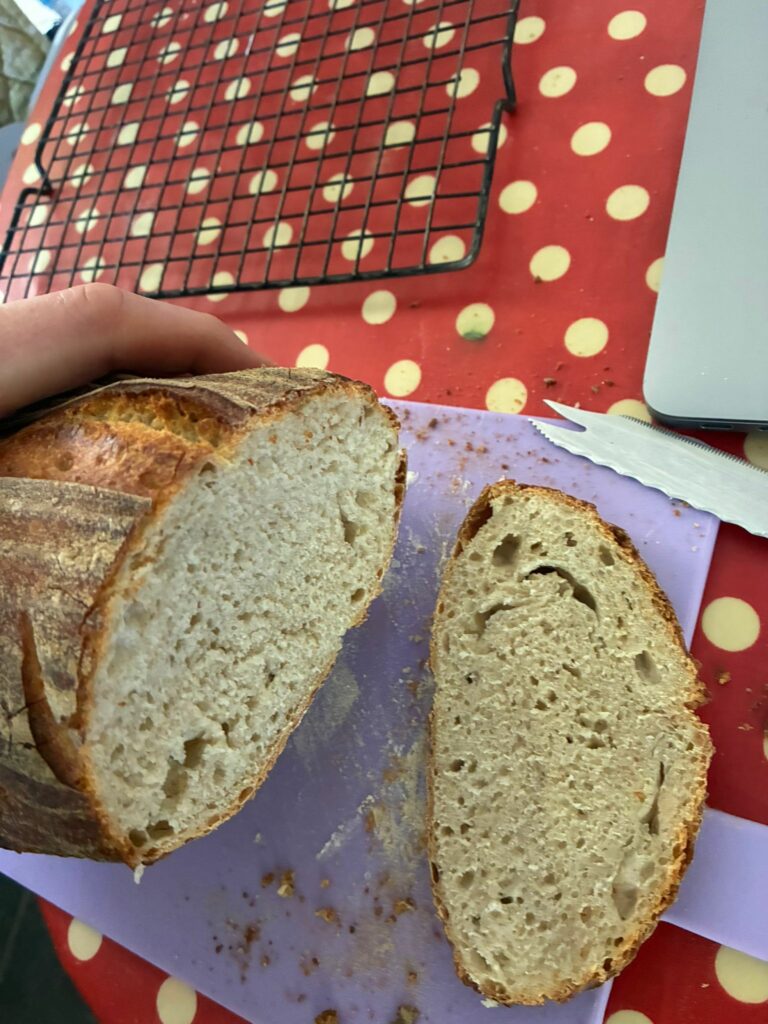
And that’s it! You made bread (hopefully). And if you didn’t, you learned a way to not make bread – try again next time.
Questions
I’m no expert baker, but here’s some helpful things I had to look up at some point that I remember the answers to.
Why does my starter have liquid on top?
The process that yeast uses to multiply creates some kind of acid as a by product. I guess it’s the same thing that makes the sourdough “sour”. It should smell a little vinegary. You can pour it off or scoop it off with a spoon, or mix it in for extra zing!
What should my starter smell like?
It’s a weird thing. It smells of starter. A sort of vinergary, yeasty smell. I had one go off once and it was properly rank and disgusting. You’ll know if it’s gone bad. It just smells bad.
Is the starter really safe to use?
See the two questions above. I’ve read that the acidic environment is what keeps bad bacteria moulds in check. If you see black stuff in it, or if it smells actually disgusting then throw it out and start again.
It didn’t work? What did I do wrong?
Could be literally any number of things. I don’t know. Try again?
When should I “feed” my starter?
As I’ve said, regularly baking tends to keep it topped up. But if I have a bake-break, or a holiday, I can leave it in the fridge for 3-4 weeks before it needs a feed.
I tend to do this if there is a layer of acid on top: pour that off and feed it.
The feeding process is:
- discarding some starter if there is too much
- add 50g (rye!) flour and 50g water
- mix it together
- leave it out of the fridge for 12 hours
- put it back in the fridge
I adjust the amounts of flour and water if the starter seems to dry or too wet. Mostly I’m guessing around that 50g/50g mark though.